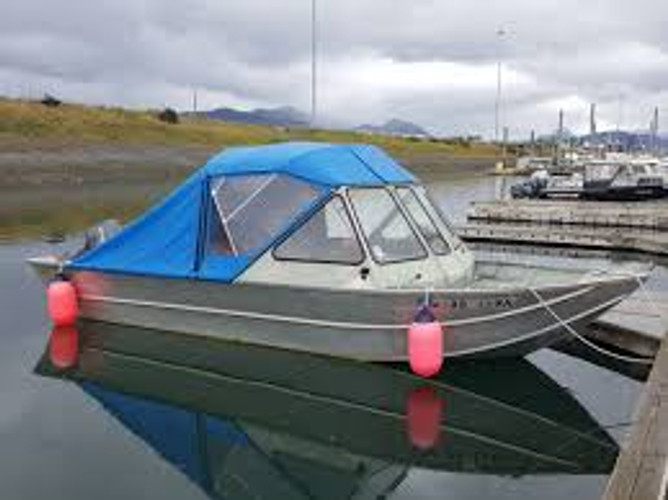
Boat Canvas Repair Tips
The marine canvas on your boat serves as essential protection against the elements, shielding you from the sun and keeping your boat safe when you're not around. However, when the canvas gets damaged, it can compromise this protection. To help you maintain your boat’s canvas and avoid costly replacements, here are some valuable tips for inspecting and repairing boat canvas.
Inspecting the Canvas for Problems
Before diving into repairs, the first step is identifying any issues with your boat’s canvas. Early detection can prevent small holes from turning into large tears, keeping your boat well-protected. Here’s how to thoroughly inspect your marine canvas:
- The Tug Test
Perform a tug test by pulling firmly on the canvas to check for weak spots or holes. If the fabric tears easily, it’s too weak to provide proper protection, and you’ll need to address the issue promptly. - Use Light to Spot Holes
Sometimes small holes can be hard to see, so make sure to inspect your canvas in a well-lit area. You can also look at the shadow cast by your canvas, as light shining through holes will be more noticeable this way. - Inspect Both Sides of the Canvas
Canvas damage can sometimes start on one side before affecting the entire material. Check both sides of the fabric to identify any weak spots that may not be visible from just one side.
To make inspections easier, incorporate this step into your regular boat maintenance routine. A quick inspection can help prevent major issues down the line and prolong the life of your canvas.
Repairing Your Boat Canvas
Most experts recommend patching up damaged canvas rather than replacing it entirely. Here are the essential steps for effectively repairing your boat’s canvas:
- Work with Clean, Dry Canvas
Before making any repairs, ensure that the canvas is clean and completely dry. Proper adhesion is key to a long-lasting patch. Consider using a product like Boat Cleaner to clean the canvas thoroughly, then rinse and allow it to dry. - Measure Twice, Patch Once
Accurate measuring is critical to applying a strong, reliable patch. Measure the damaged area carefully, and cut your patch to extend at least four inches beyond the damage to ensure a secure fit. - Inspect Your Work
Once the patch is stitched on, inspect the area again. You can even perform another tug test to check the strength of the patch. It’s better to catch any potential weaknesses now than discover them later.
With a well-repaired and maintained canvas, your boat will stay protected from harsh UV rays, precipitation, and debris. However, don’t rely solely on canvas to protect your boat. For added peace of mind, make sure your boat has the proper seals and caulks to stay water-tight while you repair or maintain the canvas.
A strong marine canvas is just one part of boat protection. Explore our boat repair service to ensure your boat remains sealed and water-tight. Proper sealing will help keep your boat in top condition, no matter the weather.

